
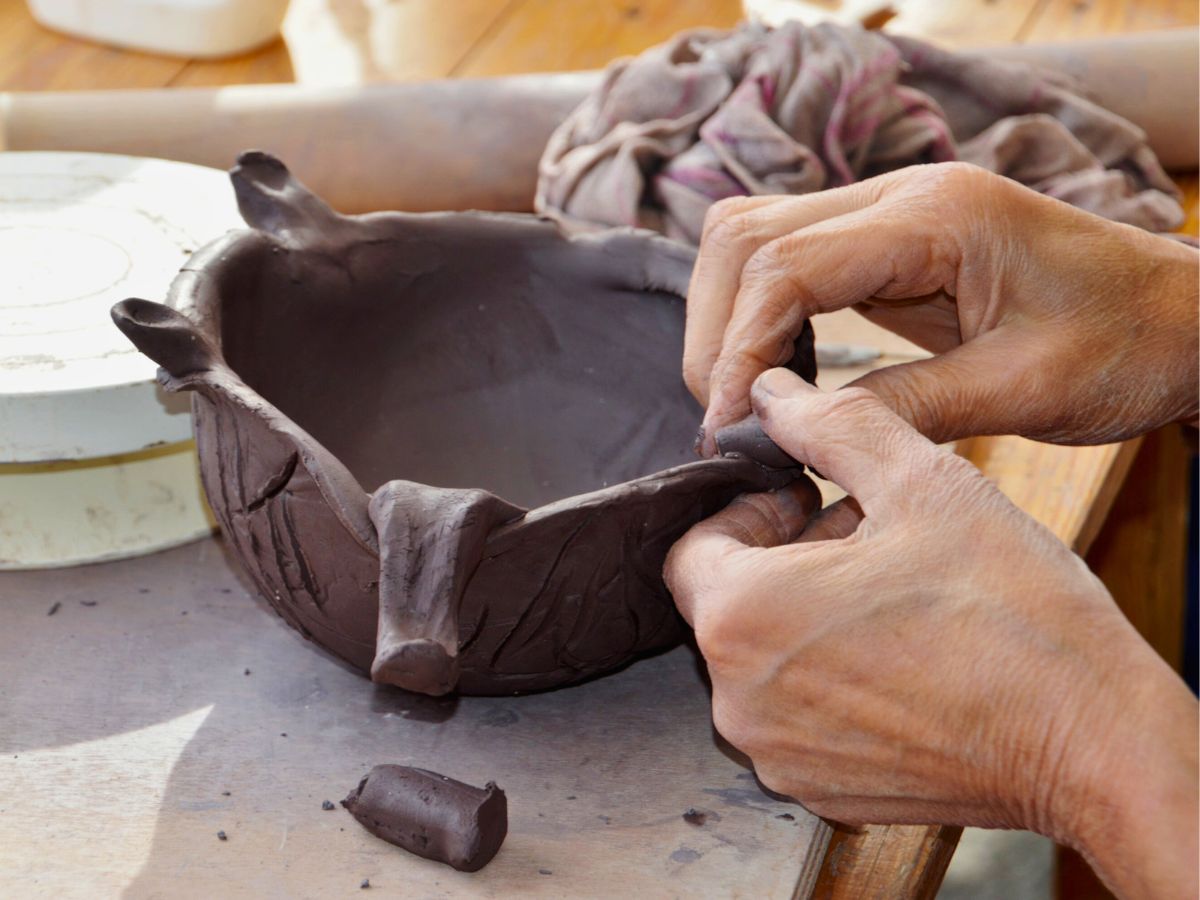
The ceramic techniques used in making pinch pottery hasn’t changed much even today. Origins of the pinching technique dates back thousands of years. This makes it one of the oldest techniques used in creating ceramics. Although the pinching technique appears simple, it has the ability to create a wide range of pottery. In this technique you use a pinching motion with your fingers to shape or form the pieces.
You’ll be pinching the clay between your forefinger and thumb most of the time. At certain stages, you might also need to compress the clay between your thumb and fingers. Here are the basic steps involved in creating some wonderful pinch pottery:
1. Roll your clay into a ball-like shape
Rolling your clay into a ball would be an ideal way to get started. The amount of clay would greatly depend on the size of pinch pot you want to make. It is good to be aware that much hard work is involved in pinching a large amount of clay. Even more tricky is to pinch large amounts of clay into an attractive, even form.
2. Start pressing with your thumb
With one of your hands cupped, support the ball of clay. Press your thumb into the ball’s center and keep pushing. Soon, you’ll begin to feel the push of your thumb in the supporting hand. However, make sure that your thumb doesn’t get right through. The thickness of the clay needs to be ideally about one-third of an inch.
3. Start pinching out the pot’s walls
With your forefinger and thumb, start to pinch out the pot’s walls. You must keep your thumb and fingers reasonably straight in this process. This will ensure that you’re pinching the clay ball’s overall depth. Pinching with just the tips of your fingers would cause a thin band around the pot’s base.
Its wall will also be shaped. Upon pinching a section of the pot, turn the clay and pinch the next section. Keep the pinching and turning process going.
4. Check the walls for even thickness
Check if the pot’s base is a bit thicker than the other parts. If it is thicker, you can drag some of the clay up the walls from the bottom of the pot. This can be done easily by using the tips of your fingers.
5. Leave the pot to firm up
You must leave the pot to firm up once you’re satisfied with its thickness, shape, and size. Keep the pot upside down with its rim resting on a wooden plate. Leave it there until the clay becomes leather-hard. The best thing to do would be to cover the pot with a plastic bag and leave it overnight. Allow it to become a little more firm by removing the plastic in the morning. Make sure that the pot doesn’t get too hard and dry.
6. Tidy up the pot
You must be absolutely sure that the clay is firm enough to handle without losing shape. When you’re assured of its firmness, tidy up the inside and outside surfaces of the pot. You can do this by using a platter tool. If you don’t have such a tool, use the back of a dessert spoon.
A clay shredder can be a good tool to smooth down the outside surfaces of the pinch pot. Remove the serrated texture on the clay using a metal potter’s rib. After running it over the surface, your pot will have a smooth finish. You can then use a damp piece of chamois leather to clean the pot’s rim.